The goal of this lab was to navigate to a series of points at UW - Eau Claire's Priory land. The class was broken into groups of three, and the coordinates of each point were given to each group. Using a GPS and the Bad Elf app for iPhone in the first part, each group found their way to the marked points. In the second part, students were instructed to use a compass and pace count to plot and navigate to three of five original points.
Study Area
Expanding on assignment 4, the area for this activity was the land around a UW - Eau Claire residence hall, the Priory (figure 1).
 |
| Figure 1: Map of study area. |
Methods
The equipment used in the first part of this lab included an iPhone- with the Bad Elf app installed, Bad Elf GPS unit, Compass, map of study area with a Universal Transverse Mercator (UTM) coordinate system, and a field notebook (see figure 2).
 |
| Figure 2: Required tools for part 1 of this lab. |
Part I - GPS Navigation
As previously mentioned, each student group was given a list of five coordinates in UTM for which they were responsible for navigating to. Before heading into the field, my group got a general sense of where each of our points were using the coordinate labels on the map.
 |
| Figure 3: Using the Bad Elf app and navigation map to find our location. |
From there, the group used the Bad Elf GPS unit (which was synched to the Bad Elf app for iPhone, creating a tracklog of our progress) and compass to find our way to each point using a best sequence of nearest to farthest. We figured the terrain might be challenging and should cut time between points as much as possible. Once the coordinates on the iPhone were close to the coordinates given to our group we could usually see the marked tree and took a picture at each one.
 |
| Figure 4: Marker 1. |
 |
| Figure 5: Marker 2. |
 |
| Figure 6: Near marker 3. |
 |
| Figure 7: Marker 4. |
 |
| Figure 8: Marker 5 (pink ribbon in fallen branches, right of tree). |
Part II - Compass Navigation
After navigating to each of the points in our course, the groups returned to the parking lot to begin the second part of the lab. This started by gathering a pace count. Dr. Hupy measured a length of 100 meters and each student walked that length, counting every other step, to get a pace count. The point of this was to determine how far 100 meters was so that when each group plotted their routes to each point, they could determine about how far it was between them.
Next, Dr. Hupy demonstrated how to use the compass we did for this part of the activity.
 |
| Figure 9: Dr. Hupy demonstrating how to use a compass for navigation. |
The compass worked by using the side to connect two points together on the map, determining the bearing of the lines, and using the bearing to navigate between the points.
 |
| Figure 10: Allison drawing bearing lines between points. |
Once all of the bearings were determined between our three points, the group headed toward the first point. Upon arrival, the compass was set to the bearing of the next point from our location. If the marker wasn't in immediate site (it never was), then we had to use landmarks to stay on course with our bearing- one group member counting pace throughout.
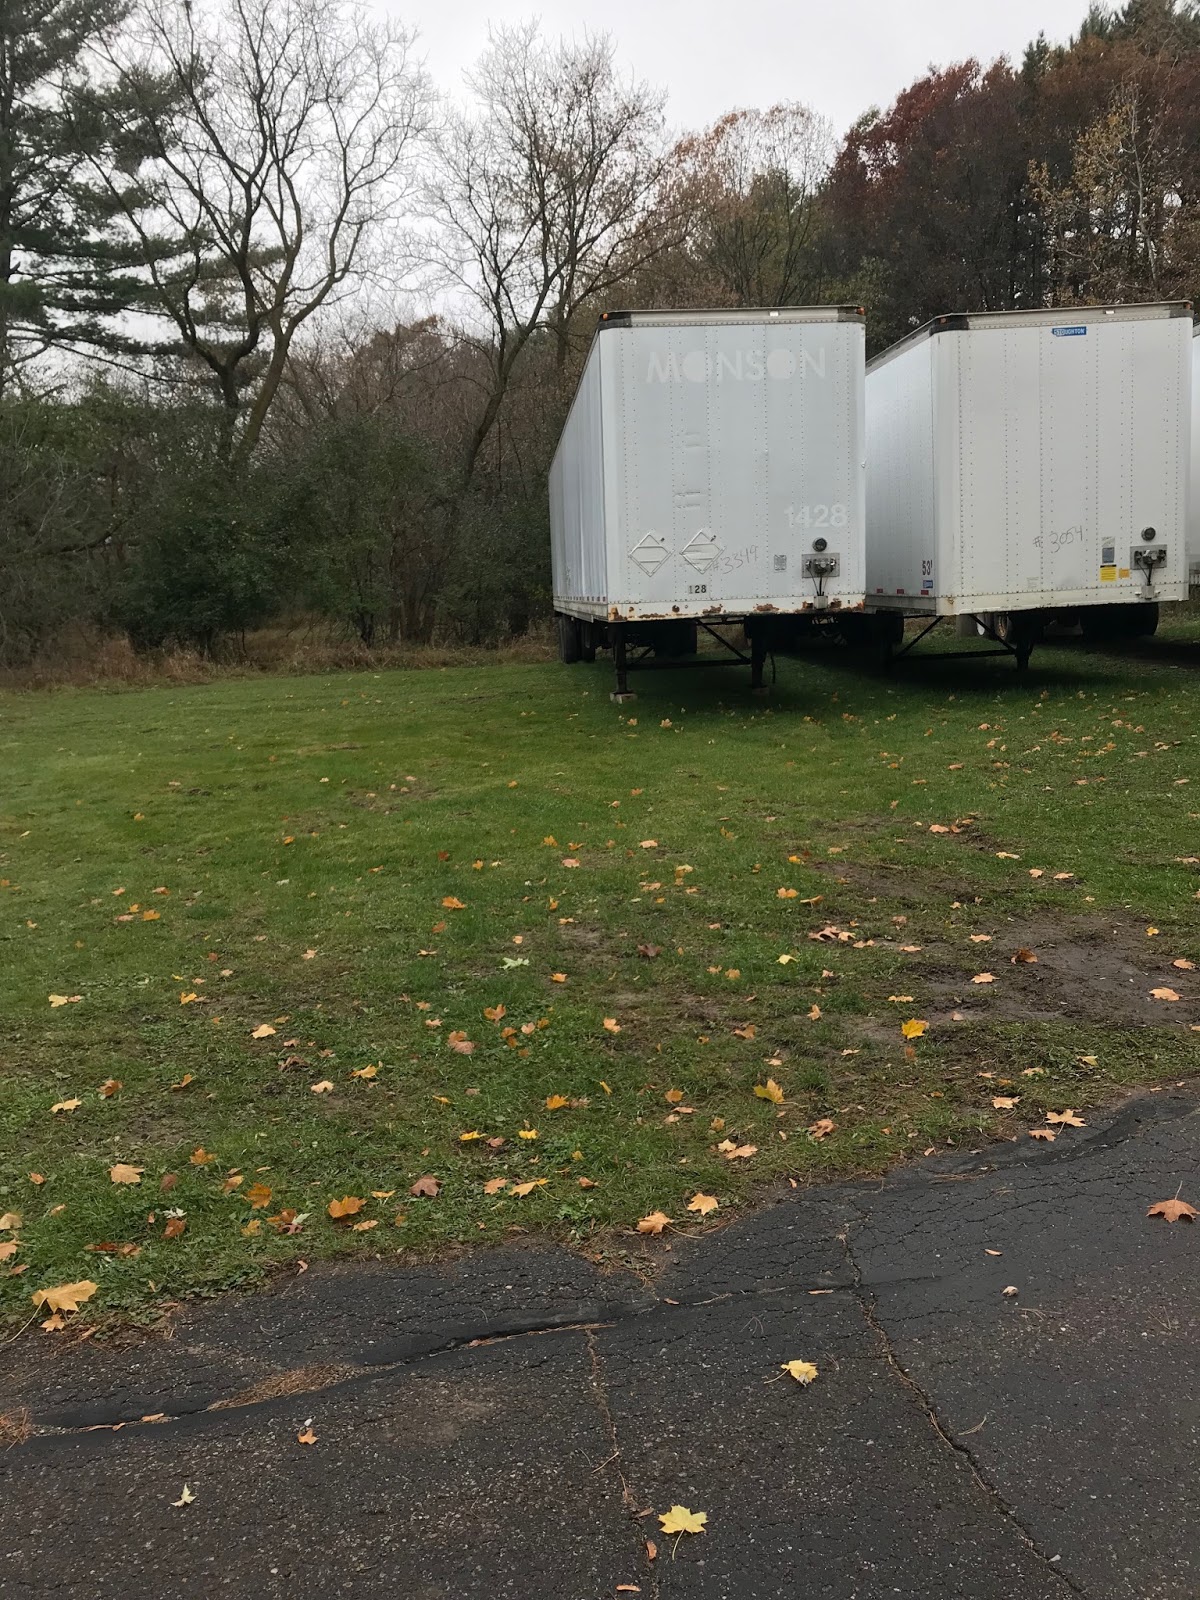 |
| Figure 11: The nearest left corner of the semi-trailer shown was used as our starting point. |
 |
| Figure 12: The first landmark from our starting point to our first point. The pace count came out to exactly 60 paces (~ 100 meters). |
 |
| Figure 13: For this landmark, the tree with yellow leaves in the distance was our landmark. We had to go around brush to get there. |
 |
| Figure 14: Zach (me) keeping pace count from point to point. |
To make the resulting maps, the track logs from the Bad Elf app were downloaded as KML files. These were then shared to each group member to be used as layers in ArcMap.
Results
 |
| Figure 15: Resulting map. |
Discussion
Upon completion of this lab, I learned a couple of things. First, knowing how to properly use a GPS and compass to navigate oneself is an incredibly important and useful skill, especially for a geographer. Although I have used these devices in the past, it has always been in areas I'm quite familiar with, so the compass and/or GPS was hardly used at all. This time around, I felt disoriented when I went into the woods, so the compass and GPS was actually needed and proved to work out well.
Second, using a pace count can give you a general idea of how far something is away from you, however, after going around physical obstacles and changing topography, a pace count isn't worth much. When our group tried to get an accurate pace count between points, it proved to be quite difficult to do given there was virtually no straight path that could span such a distance out there.
Overall, the objectives of this lab were to familiarize students with navigation skills to use in the field, in recreation, or even in an emergency, and it accomplished just that. I now feel comfortable navigating my way around an unfamiliar place with whatever technology I have available to me.
No comments:
Post a Comment